Create videos from ideas, articles, scripts, and images.
PicLaunch helps you make short videos using Personas, Profiles, Smart Mode, image uploads, and the Smart Renderer.
Open WorkspacePicLaunch helps you create short videos from ideas, scripts, articles, and images. Use Personas to control the voice, Profiles to save repeat styles, Smart Mode to build a story and render it reliably with Smart Renderer.
What you can do
PicLaunch gives you everything you need to go from idea to video in minutes.
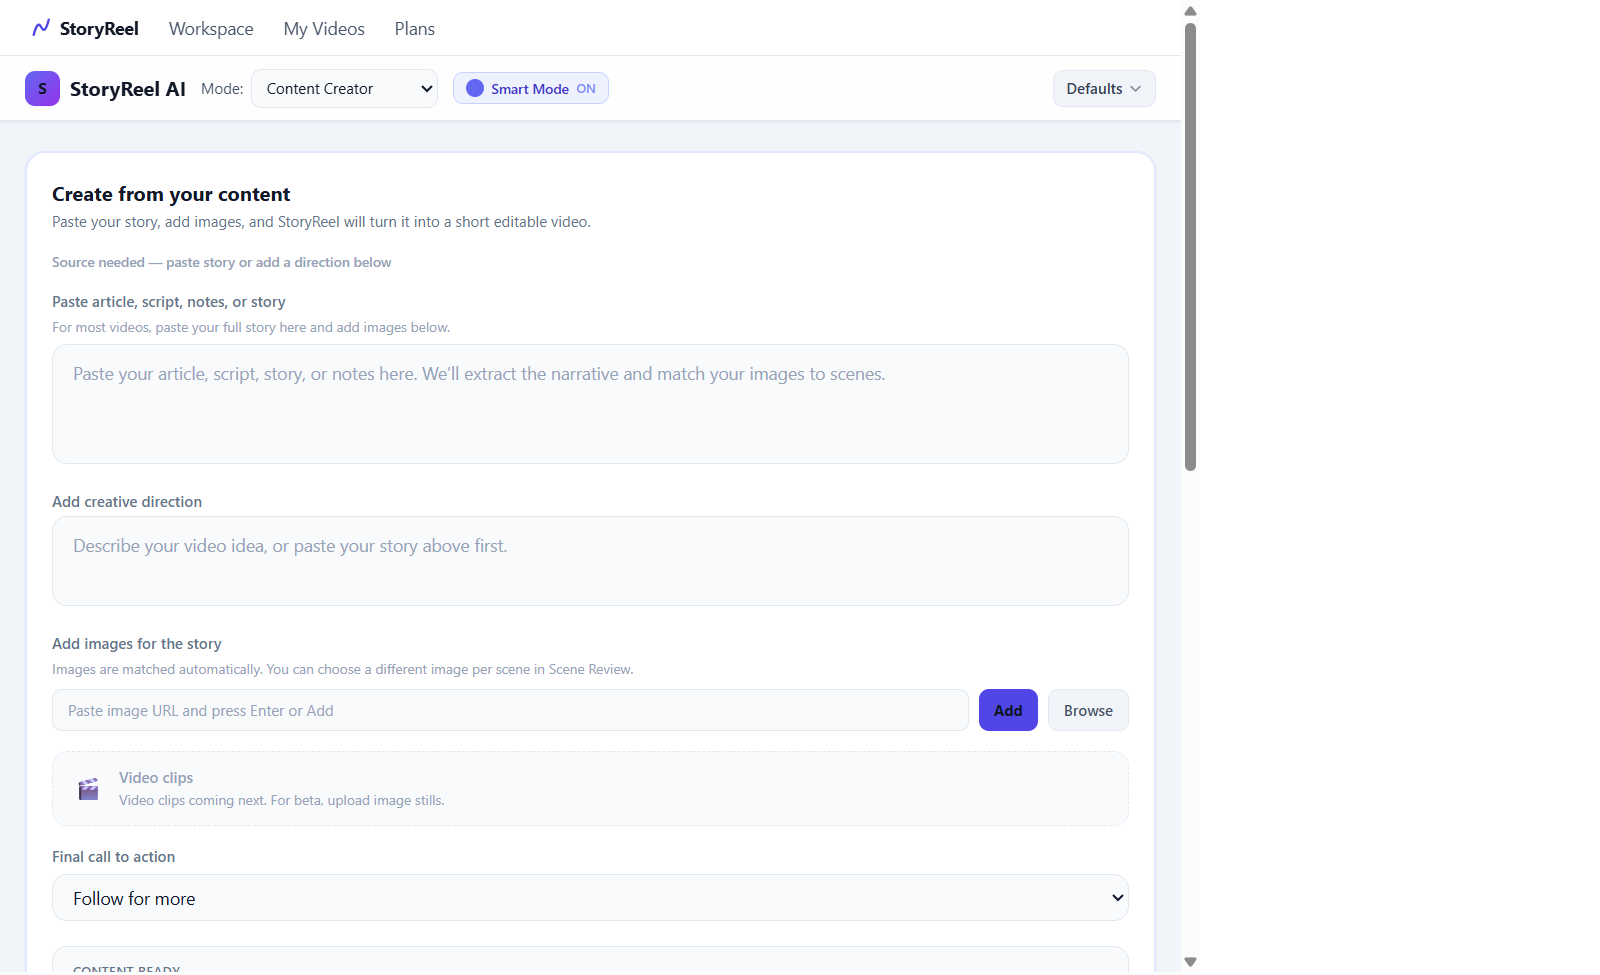
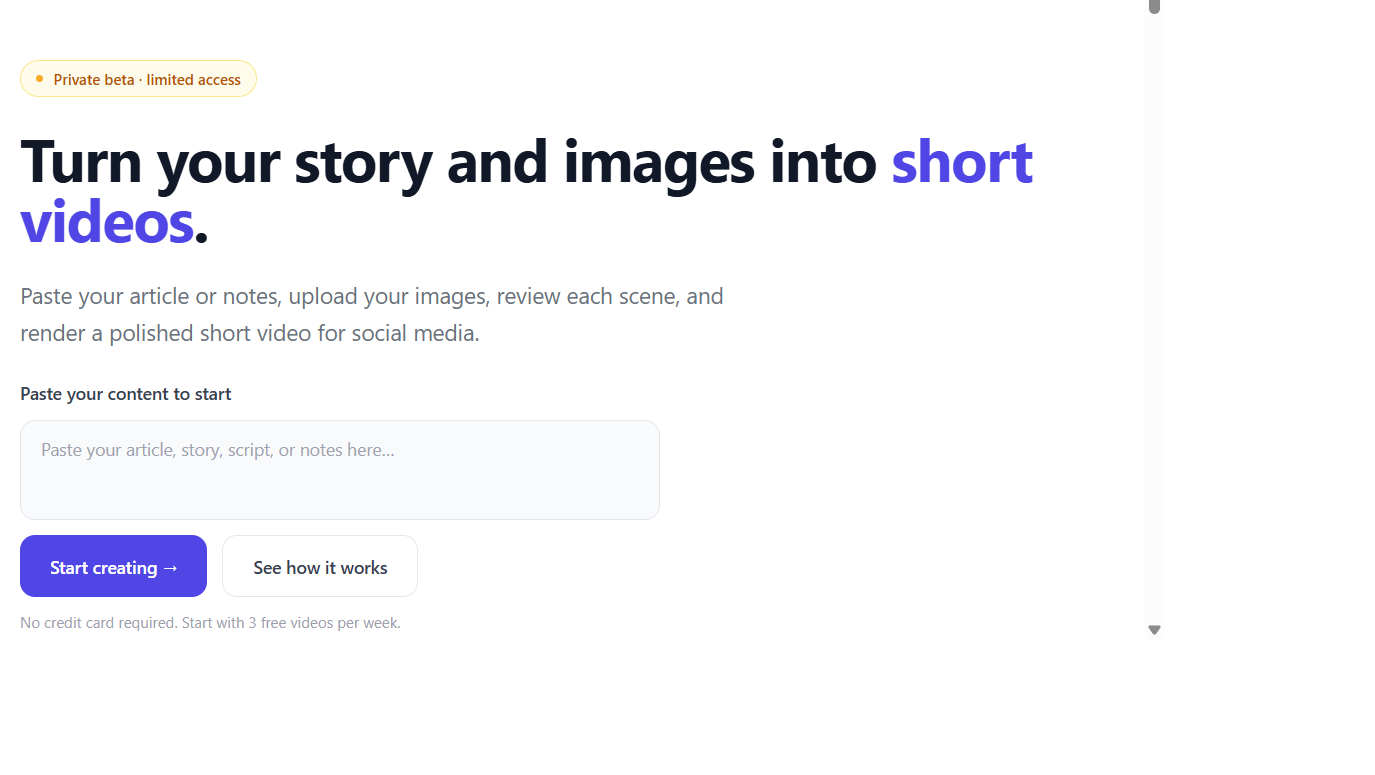
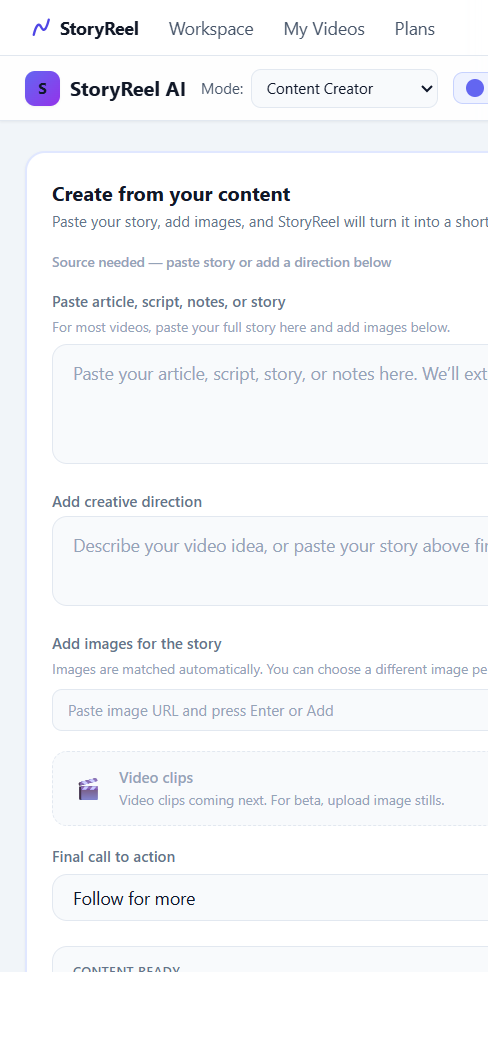
Create from Content
Paste an article, script, or story. PicLaunch extracts the narrative and matches your images to scenes automatically.
Smart Mode
Only have an idea? Type a direction and Smart Mode builds the story, selects scenes, and structures the video for you.
Personas
Control how your video sounds. Choose a Persona like Friendly Teacher, News Reporter, or Brand Voice to match your audience.
Profiles
Save your preferred settings once, then reuse them every time. Profiles remember your Persona, style, and render preferences.
Add Images
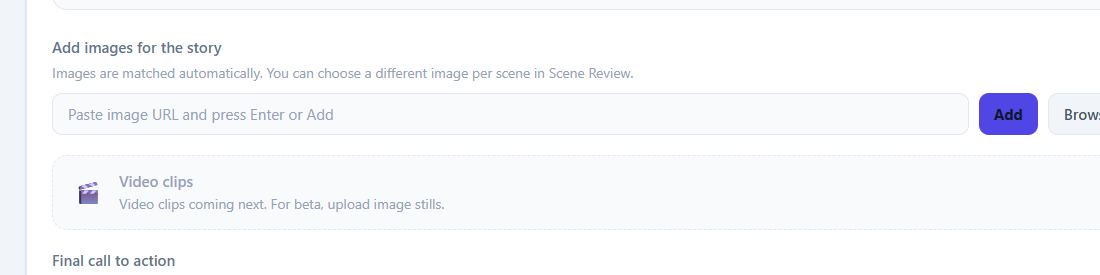
Paste a direct image URL or upload from your computer using Browse. Images are matched to scenes automatically.
Smart Renderer
Smart Renderer automatically applies the active image-first rendering path to every new video.
My Videos
All your completed videos live in My Videos. Preview, download, or share directly from your personal video vault.
How to create your first video
Start in Workspace. Paste your content or use Smart Mode. Choose a Persona for the voice, use a Profile for repeat settings, add images if needed, and create your video.
Open Workspace
Click "Open Workspace" above or go to /workspace.
Choose your starting point
Use Create from Content if you have text to paste. Use Smart Mode if you only have an idea or topic.
Paste your content
Paste your article, script, notes, or story into the content box. The more detail you add, the better the result.
Pick a Persona
Choose the Persona that matches your audience. Friendly Teacher, News Reporter, Brand Voice — each one changes the tone of the video.
Choose or create a Profile
Select an existing Profile to load your saved settings, or fill in your preferences and save a new Profile for next time.
Add images if needed
Paste a direct image URL or use Browse to upload from your computer. Images are matched to scenes automatically.
Create your video
Smart Renderer automatically uses the active image-first rendering path.
Watch the output panel
The output panel shows render progress. On mobile, tap the output toggle to expand it.
Find your video in My Videos
Completed videos appear in the My Videos section. Preview, download, or share from there.
Persona vs Profile — what's the difference?
Persona
How the video sounds
A Persona controls the voice, tone, and style of your video. Think of it as the presenter personality. You pick a Persona every time you create a video.
Profile
Saved setup for repeat videos
A Profile saves all your settings — Persona, video style, duration, and preferences — so you don't have to configure them every time.
Example combination: Choose the Friendly Teacher persona and load your saved Training Video profile. This gives you the right voice and settings in one click, every time.

How to add images
Images are matched to scenes automatically. You can also choose a different image per scene in Scene Review.
Paste a URL
Copy a direct image link and paste it into the image URL field. Press Enter or click Add. Works best with direct links ending in .jpg, .png, or .webp.
Browse from computer
Click Browse to pick a file from your device. This always works and is the most reliable method. The image is uploaded securely.
Image tips
- ✓Use JPG, PNG, or WebP format
- ✓Keep file size under 1 MB when possible
- ✓16:9 landscape images work best for most video formats
- ✓Use clear images with one main subject
- ✓Avoid images with heavy text overlays
Smart Renderer
Every new video uses Smart Renderer automatically. It applies the active image-first rendering path while keeping your profile, visual fallback, logo, and voice settings intact.
Quick fixes
Common problems and how to solve them.
Image URL does not preview
Some websites block direct image links. Right-click the image, save it to your computer, then upload it using Browse.
Output is not visible on mobile
The output panel is collapsed on small screens. Tap the "▼ Show Output" toggle at the top of the right panel to expand it.
The video tone or voice feels wrong
Choose a different Persona before creating the video. Each Persona changes the style and voice of the output significantly.
You are repeating the same setup every time
Save your settings as a Profile. Next time, load that Profile and all your preferences will be restored in one click.
Ready to create your first video?
Open Workspace, paste your content, pick a Persona, and hit Create Video. Your first video takes under a minute to set up.